“Be yourself; everyone else is already taken.” ....Oscar Wilde
Showing posts with label chocolate. Show all posts

Friday, 3 July 2015

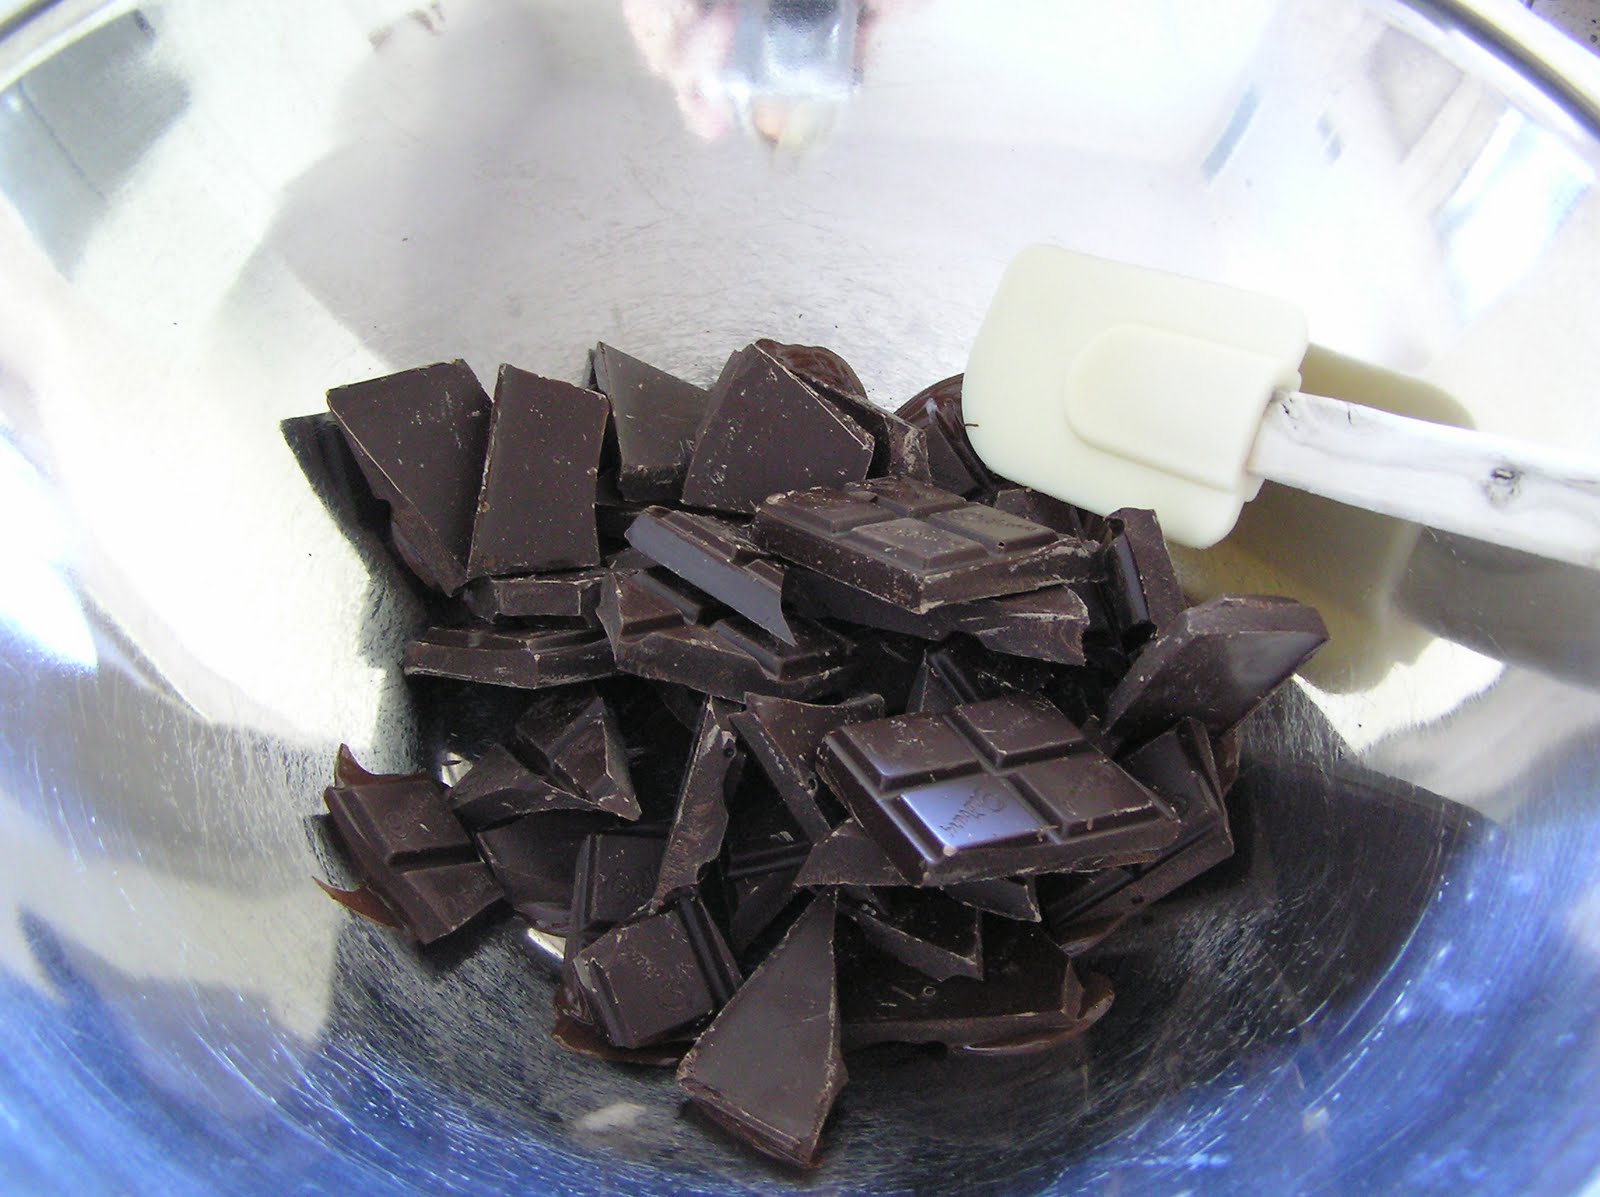
I don't believe it... unfinished chocolate? (PPF)

I haven't had a chance to produce much art work over the last few weeks, but I hear that this weekend is supposed to be wet. Somehow I'm slightly excited by this, which is ludicrous really, after waiting so long for the summer heat to arrive. 
If it is wet... then I have a plan.
I'm going to nip into the studio to finish off lot's of projects from Tracey Fletcher King's classes over at Community Thrive
The classes are to help us to learn to be loose with our painting.
We have been painting everyday objects and goodies from our fridges. 
Fruit and vegetables along with familiar products and items that we use everyday.
I suppose you could say we're taking in our daily five... but in a slightly different way 
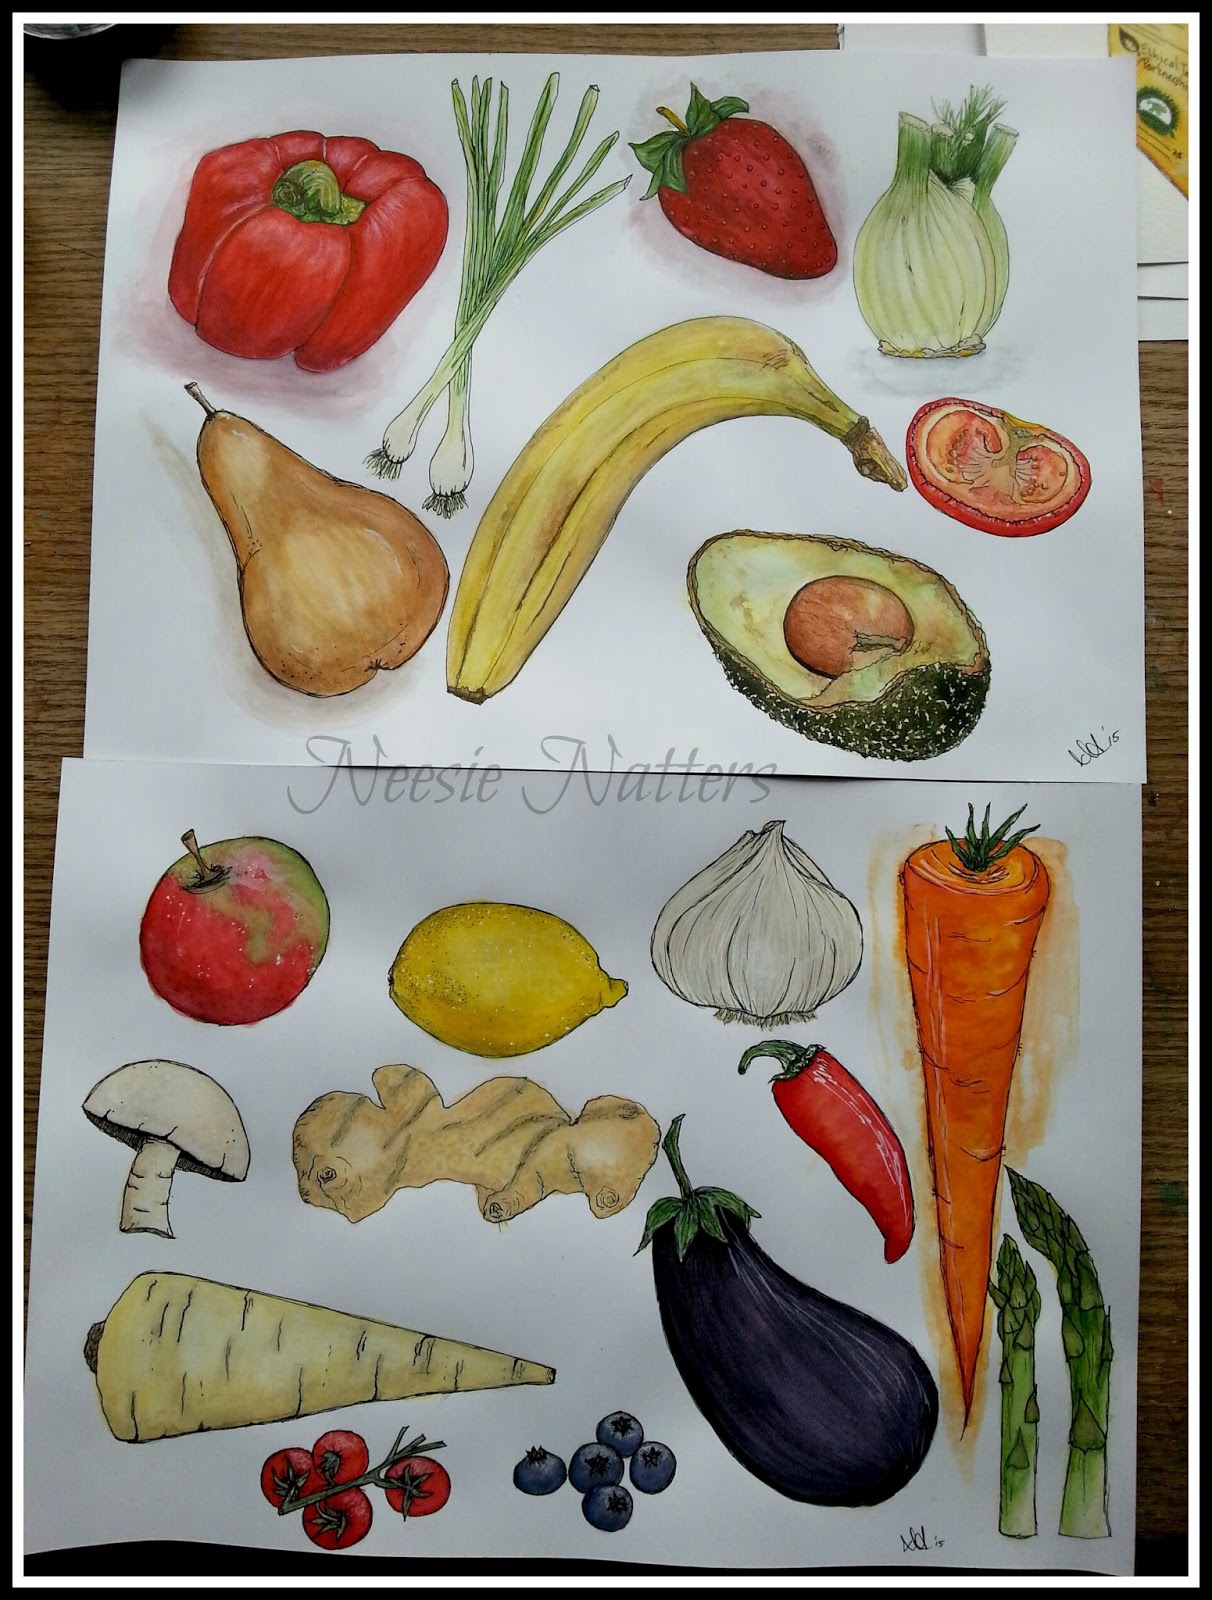
The next step is to make a little booklet and then decorate it with our paintings. 
I'm really looking forward to creating my booklet. 
They'll be a little origami involved with possibly lots of licking and sticking. 
It should be fun (hopefully) and if I end up with anything that looks reasonably like a booklet, I'll be sure to let you see it. 

Now I know Tracey is a chocolate fan, but she also likes sprouts!
In fact, she loves them,.. how I don't know, but she does.
But I went for the chocolate option. 
NO CONTEST!
(I mean who seriously likes sprouts????) 
I do manage to cook them, but that's as near as I'll go. 
Surprisingly, everyone praises them... but just don't ask me to eat one.
I'm afraid I feel the same about cabbage.

Just a little detour here to tell you a tale from my childhood... 
My sister once cooked cabbage as part of our family Sunday Roast. 
But she conjured up a devious plan. 
She sliced open my Yorkshire pudding to fill it with cabbage, then covered it with gravy.
I took one bite and the whole meal was ruined for me.
I couldn't eat another thing off my plate. 
How she thought I wouldn't notice I'll never know, but I didn't eat another mouthful.
Don't worry I've forgiven her... but only just.

Anyway... no more greens.
Lets move on to the good stuff...
Mmm... chocolate.
It's a work in progress but I thought you might like to see it.
Okay, I'll admit the packet is empty now. 
Yes, I know it's a big bar but you need something to keep you going whilst working.
But actually, I have no idea where it all went (sheepish look) it just disappeared.
Perhaps mice? 

Let's move on swiftly
Here's another of my loves...
Tea!
I know I need to practice my lettering... it's seriously off, but I had fun painting this box.
Tracey is all about painting loosely, but it's not something I find easy to do. 
I get stuck on detail and it's not that easy to change your style. 
It's great therapy to paint quickly, but I need to practice.
I always seem to be a little afraid when I'm faced with a clean white sheet of paper, but if I paint regularly then hopefully this fear will disappear. 
I mean what's the worse that could happen to me? 
I'll produce something I'm not happy with. 
ARGH...OH NO! 
See nobody died!
So I'll keep having fun and see where this journey takes me... 
I know with Tracey's help it's going to be fun. 
Finally, I thought I'd show you how my last painting looks when a frame is added.
Apologies for the reflections... unfortunately I couldn't eliminate them.
Once again I really enjoyed painting this one and think it looks great for a kitchen.
I may rethink this and paint a new one.
Using this as a draft.
I think I could have been more imaginative with the layout.
I'm linking up with Eva and Kristin over at the Paint Party Friday, so if you'd like to see more amazing art work then click here
I hope you have fun this weekend.
Thanks for visiting my place and I hope to see you again soon.

Monday, 23 January 2012

Millionaire's Shortbread....

I'm a little late posting today...its been that kind of day....
Well the truth is that I've been out and about with a friend, who treated me to a lovely lunch :D
{Possibly a future post about the restaurant}.

Meanwhile back to todays post....yesterday I finally got around to some baking. I know its been ages but I hope you like my choice ~ the boys did.
You've probably heard about Millionaire's shortbread before or maybe you know them as Chocolate caramel shortbread fingers?
They are shortbread with a caramel layer, topped with chocolate as the name suggests. A little more indulgent hence Millionaire's shortbread....anyway here they are and the recipe below.... I hope you like them


Oh I should say this recipe comes with a warning....Don't look if you're on a New Year's healthy diet regime.... but in my defence, it does make a lot and they last, plus they're great for just having a little square with a cuppa and you can cut them as small as you like....Am I getting away with it? ; )
Apologies for the photo's....I wasn't impressed because the tray had been in the fridge and then to cut pieces for the photo without cracking the chocolate topping was tricky. I should have let them come to room temperature or at least to warm a little from the fridge. I can't help it I'm impatient plus we are currently having a 34 degree celcius...Phewph...so the chocolate was beginning to melt a little too much for my licking liking (whoops a little slip there)

Recipe:-

Base Ingredients:
250g unsalted Butter @ room temperature
150g Caster Sugar
150g Cornflour
300g Flour
 
Middle Caramel Layer Ingredients:
1 x 397g tin of Condensed Milk
100g Caster Sugar
100g Butter
2 Tbspn Black Treacle

Top Chocolate Layer
3/4 pound good-quality Chocolate ~ Milk or Plain ~ depending on preference.


1. Preheat oven to 170 degrees Celcius (Gas Mark 3 and half ) 
2. Cream together butter and sugar until light and fluffy. 
3. Sift together flours then add to butter and sugar mix.
4.Gently knead together to form a dough. Not too much handling to keep light.
5. Spread in base of greased plus papered or floured baking tin (20cm x 30cm)
6. Bake for 20 mins (approx)
7. To make caramel ~ Place butter, sugar, black treacle and tin of condensed milk into a pan. 
8. Gently melt together ~ stirring so that it doesn't stick to the bottom.
9. Boil gently for 5 minutes to form toffee.
10. Pour over the shortbread.
11. Melt chocolate in a bowl over a water vbath until smooth.
12. Cool slightly then pour over shortbread and caramel to make top.
13. Leave to cool and set.


It can be kept in fridge ~ if so, bring to room temperature before eating (although I like mine still chilled. Enjoy!

By the way "Gong Xi Fa Cai" ~ Happy Chinese New Year : D

Sunday, 21 August 2011

Chocolate and Orange Cake

As promised I finally got to baking today. I know I've been very remiss lately and believe me there have been grumblings from within the ranks. But that's all sorted now.....as we speak my son is yet again helping himself to a hefty portion.
I had numerous oranges spare and have always had a liking to Chocolate Oranges - the kind that you "tap and unwrap" - so I decided to make a cake which combined the two. I came across a Nigella Lawson recipe for a flourless chocolate orange cake, which I thought sounded pretty good and as we all know Nigella can certainly deliver on the no fuss, but incredible, delectable goodies to devour at leisure.

The easy way the ingredients are all sqwished in the food processor certainly made me feel I was cutting corners but the result was superb. So easy!

I made a few adaptions along the way and added melted good quality chocolate over the top and drizzle down the sides.


It was so moist and beautiful with a dollop of Crème Fraiche

I have to tell you this was one of the easiest cakes I've ever made and the result was perfect.
Here's the recipe......

Flourless Chocolate Orange Cake 

1 Large Orange (or 2 small)
6 Eggs
1 heaped teaspoon of Baking Powder 
1/2 teaspoon of Bicarbonate of soda
200g of Ground Almonds
250g of Caster Sugar
50g of good quality Cocoa

As a variation you could always add a few drops of Cointreau into the orange mixture!
Method
1.Put the oranges in a saucepan with cold water and bring to the boil before reducing the heat. 
2. Simmer for two hours or until soft. 
3.Drain the water from the oranges and set aside to cool.
4. When cool cut the oranges in half and remove any large pips.
5. Grease a 20cm spring form baking tin and preheat the oven to 180 degree's C (350 F)
6. Pulp the oranges in a food processor before adding the eggs, baking powder, bicard of soda, almonds, sugar and cocoa.
7. Process all the ingredients together until you have a smooth batter but not too much. You should still have a batter flecked with oranges.
8. Pour the batter into the baking tin and bake for 1 hour.
9. Check the cake after 45 mins as you may need to cover it with foil to prevent burning before the cake is cooked all the way through.
10. Let the cake cool in the tin before removing.
11. Most important point......ENJOY! =D

Tuesday, 15 March 2011

Chocolate and Cognac Cake

Wow...I think I've found my perfect chocolate cake.
It's elegant, indulgent and perfect for the 'chocoholic'. Yes, that's me - I confess.
This cake rises like a souffle, since that's really what it is....
It would be perfect for Easter.

Remember the quality of chocolate you use is directly proportional to the quality of the cake. The rule also applies to cognac.

Recipe below....

The smell of the cognac wafting through the kitchen was so powerful, but there again it was mid morning on a Sunday. When my other half entered the kitchen, he raised an eyebrow, but then noticed thankfully that the aroma was coming from a measuring jug and not a glass.

I loved the pattern of the cream mixing with the chocolate ingredients...

I have to admit I didn't do the test of placing the stiffened egg white bowl over my head, as with many cooking demonstrations, to prove the whites are whisked enough.

I've never had the nerve to try that.

The smell at this stage was unbelievable...

I placed a little crème fraiche to accompany the lovely chocolate gooeyness


Chocolate and Cognac Cake - serves 8 (or 12, or 1 depending on your willpower and willingness to share!)


400g good-quality dark chocolate
6 eggs, separated
150g caster sugar
100ml good-quality cognac
300ml pure cream
cocoa powder or icing sugar, to serve


Preheat the oven to 175C. Cut a piece of greaseproof paper to fit a 20cm round cake tin, with a double layer for the side and a single layer for the base. Spray the tin with cooking oil and fit the greaseproof paper snugly.

Melt the chocolate in a stainless-steel bowl set over a saucepan of hot water. Don't let the water boil, as you can scald the chocolate. Remove the chocolate from the heat and let it return to room temperature.

In a large bowl, beat the egg yolks and 100g sugar until pale and creamy. Add the cognac and continue to beat until well combined. Add the chocolate and stir until completely incorporated, then slowly stir in half the cream. Set aside.

Whip the remaining cream until soft peaks form. Set aside. Whisk the egg whites in a very clean bowl. When soft peaks form, slowly add the remaining sugar and whip until very firm. Fold the whipped cream into the chocolate mixture. Fold in the egg whites.

Pour the cake mixture into the prepared cake tin, place the tin in a baking tray and add enough hot water to come 2.5 cm up the side of the tin. Bake for 45 minutes.

Turn down the oven to 150C and bake for a further 45 minutes. Turn the oven off and leave the cake in the oven for 40 minutes, then remove to a cake rack. Cut around the edge of the tin and turn it onto a plate - the cake should slide out easily. Sprinkle with cocoa powder or icing sugar. To slice the cake, use a knife dipped in hot water and clean the knife after each cut.

This cake will last for three days (if your lucky) covered, outside the fridge. Don't refrigerate it: it will set like a brick!

I'd love to hear what you think about the recipe....it was one of Neil Perry's
http://www.lifestylefood.com.au/chefs/neilperry/

I'm off now to have a little piece with my cuppa....after typing all this I'm drooling....
anyway, I have to before its all gone!

Friday, 4 March 2011

Chocolate and Vanilla Marble Cake...

This was a first for me today. Chocolate and Vanilla Marble Cake, but I have to confess its going to be a regular feature in my cake tin.
It's basically Madeira cake recipe that is separated into two bowls, good quality cocoa powder is folded into one and then the two mixtures are swirled gently together. It will keep for a couple of days in an airtight container or box, but can be frozen. Serve it plain or dusted with icing sugar; or if you want to be really indulgent....drizzle some hot chocolate sauce over the top.

You have to be careful when drawing the swirls that you don't overdo it because then you would lose the 'marble' effect.
I think it looks very impressive but its so easy

Yum yum...I better get out on my bike now to burn this off.
Chocolate and Vanilla Marble Cake
225g (8oz) Butter, softened
225g (8oz) Caster Sugar
4 Eggs
2 tsp Vanilla Extract
225g (8oz) Plain Flour
2 tsp Baking Powder
50ml (1 3/4 fl oz) Milk
Scant 50g (2oz) Cocoa Powder, sifted
20cm (8in0 diameter spring-form/loose-bottomed tin
Preheat the oven to 180C (350F), Gas mark 4.
Butter and flour the sides of the cake tin and line the base with greaseproof paper.
Cream the butter in a large bowl or in an electric food mixer until soft.
Add the sugar and beat until the mixture is light and fluffy.
Whisk the eggs and vanilla extract together in a small bowl. Gradually add the eggs to the butter mixture, beating all the time. Sift in the flour and baking powder and fold in gently to mix, then add the milk and mix gently to combine.
Tip half of the cake mixture into another large bowl and, into this bowl, fold in the sifted cocoa powder.
Place the cake mixtures into the prepared tin by alternating spoonfuls of the vanilla batter with the chocolate batter, then with a skewer or similar implement, gently draw swirls through the cake mixture to 'marblise' it. Don't over mix.
Bake in the oven for 45 minutes or until a skewer inserted into the middle comes out clean.
Turn the cake out onto a wire rack and allow to cool.
This recipe came from Rachel Allen's 'Bake' and I can highly recommend you try it.
See more of Rachel's recipes http://www.rachelallen.co.uk/
Related Posts Plugin for WordPress, Blogger...